Blind Line & College Ave
Orangeville, Ontario

Everything you need to build and configure your RetroPie emulation setup. Also suitable for Pi 1/2/4/Zero.
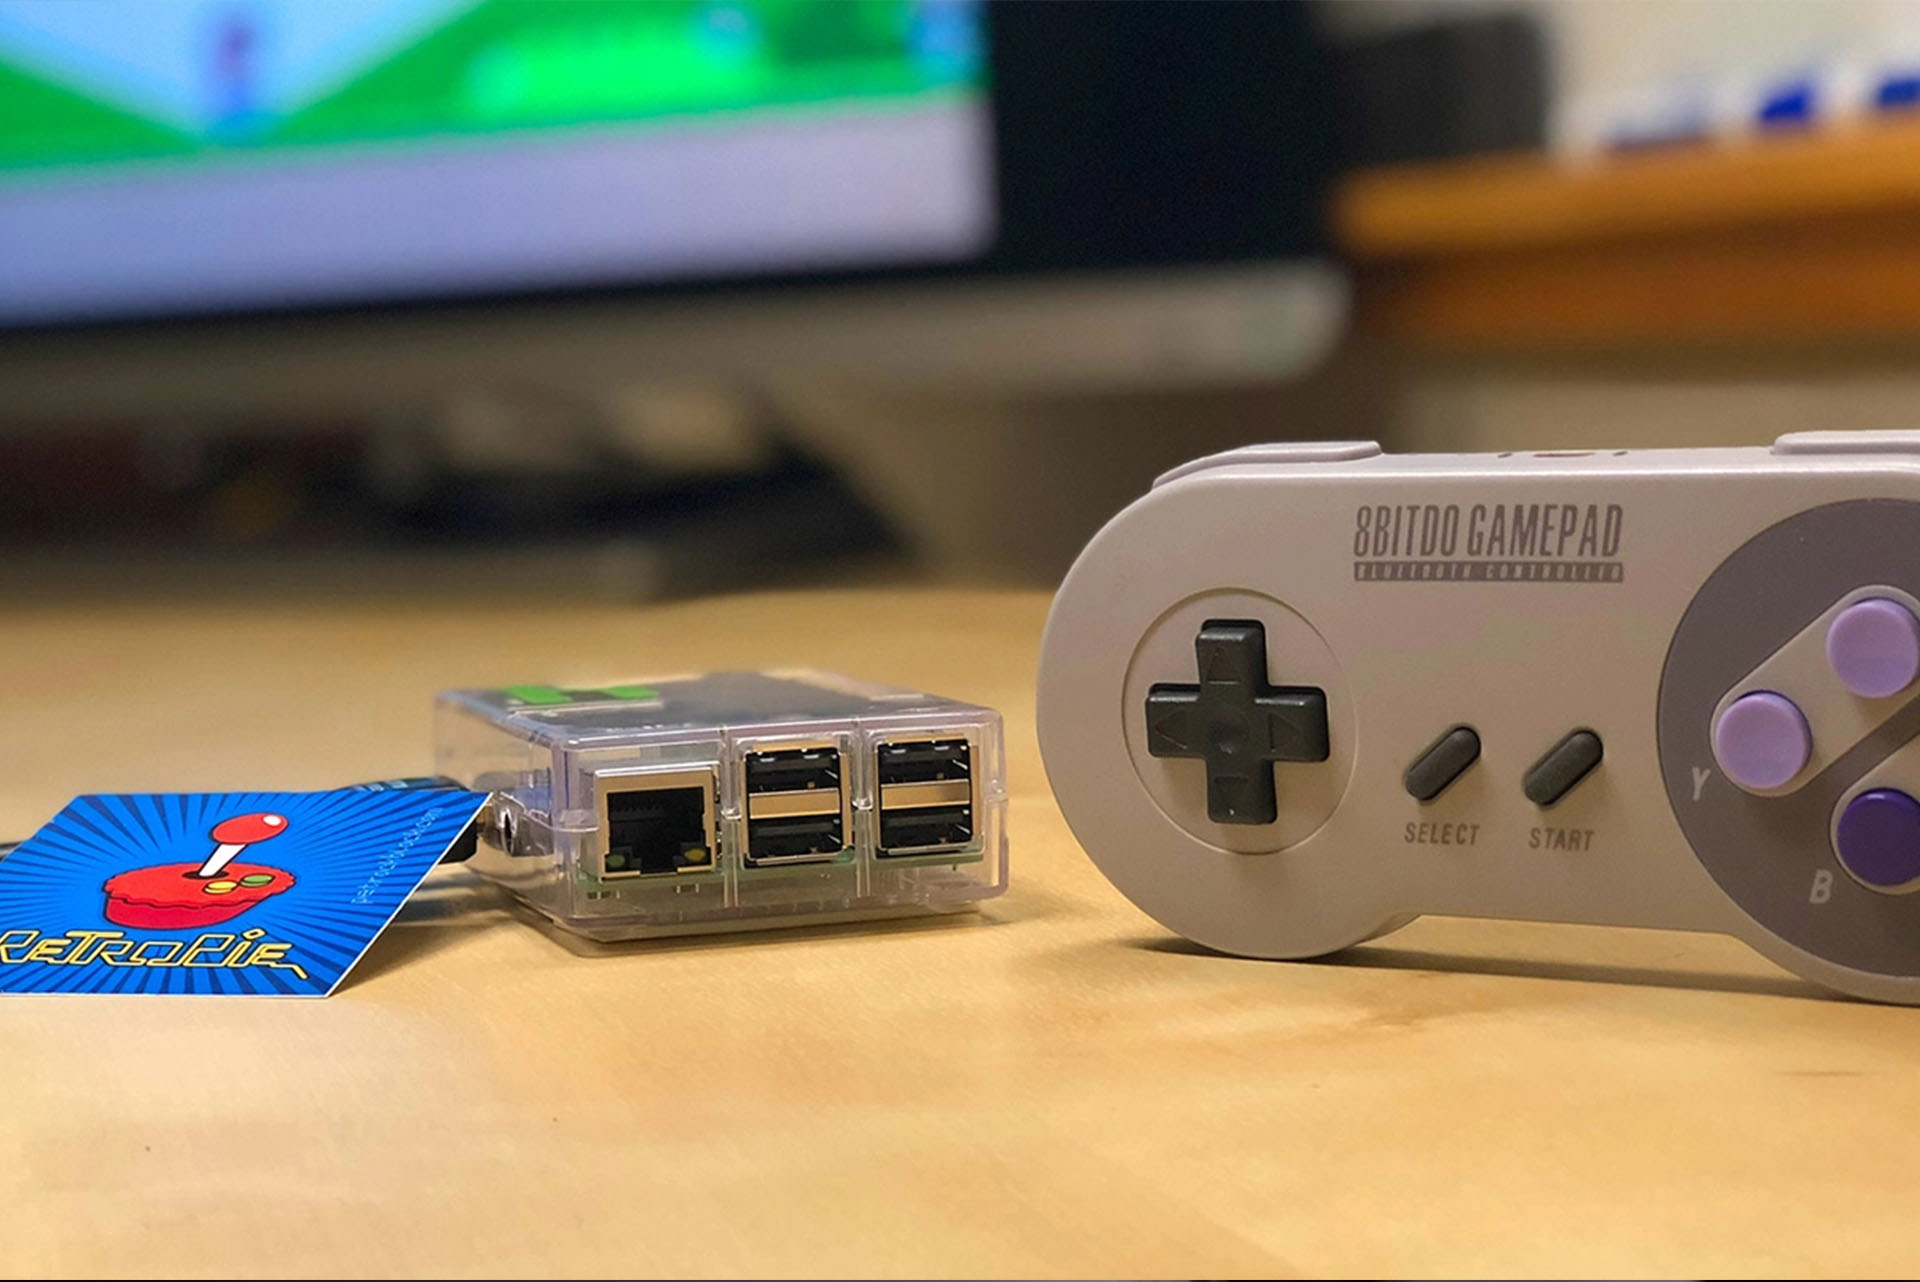
RetroPie Tweaks/Setup for Raspberry Pi 3
Install → Load ROMs → Custom Resolution → Controllers
This guide lists how to tweak, adjust, change and set up RetroPie on a Raspberry Pi 3. These steps may also suit the Pi 1 / 2 / 4 / Zero.
Use a good-quality power supply (the official 2.5A/3A unit) — most "random crash" and corruption issues on a Pi are actually under-voltage. If you see a lightning-bolt icon in the corner, your supply or cable is too weak. Always shut down cleanly from the RetroPie menu rather than pulling power, to avoid SD card corruption.
Expand a section below for step-by-step instructions.
Install RetroPie using the Raspberry Pi Imager:
On first boot RetroPie asks you to hold a button on your controller to configure the inputs. If you skip a button, hold any button on the last prompt to finish — you can redo the mapping any time from Start → Configure Input.
Prefer a manual image? Grab it from the official RetroPie downloads page and write it with the Imager's Use custom option.
Load your games from a USB stick instead of the SD card:
retropie/roms/snes).Full details in the official RetroPie guide: Running ROMs from a USB drive.
To get a 1:1 ratio on the screen, set your resolution in /boot/config.txt. Exit EmulationStation (Select → Quit → Quit EmulationStation) then run sudo nano /boot/config.txt, or edit config.txt on the boot partition using a card reader (editable in Windows).
# before hdmi_force_hotplug=1# before hdmi_group and set it to 2# before hdmi_mode and set it to 87 (custom HDMI mode)Your final config lines should look like:
hdmi_force_hotplug=1
hdmi_group=2
hdmi_mode=87
hdmi_cvt=1024 600 60
Credits: thanks to pixel.red.
USB Controllers: NES Controller | SNES USB Controllers | Sega Controller | N64 Controller
Wireless Controllers: NES Controller | SNES USB Controllers
Other Add-ons: USB Sticks | Micro SD Cards
As an Amazon affiliate I may earn a small kickback off purchases from these links.
Track down what's slowing your PC — Task Manager, startup programs, disk health, malware checks and more, step by step.
Convert your disk from MBR to GPT with Microsoft's built-in mbr2gpt tool — no reinstall, no data loss — and switch to UEFI boot.
First-use setup, material tests and ramp tests to dial in your CO2 laser for clean cutting and engraving — plus essential safety tips.
The full Wii softmod, start to finish: Wilbrand exploit → Homebrew Channel → BootMii NAND backup → Priiloader → cIOS → USB game loading.

Sign up and get notification about new services, promotions and sales.
