Blind Line & College Ave
Orangeville, Ontario

Share USB-only printers and devices over Wi-Fi/LAN using a Raspberry Pi and the VirtualHere USB server.
Make a Wireless USB Device Server with a Raspberry Pi
By Coolshrimp Modz — tested with a Pi 3B and LS1300/K13 Lite style printers
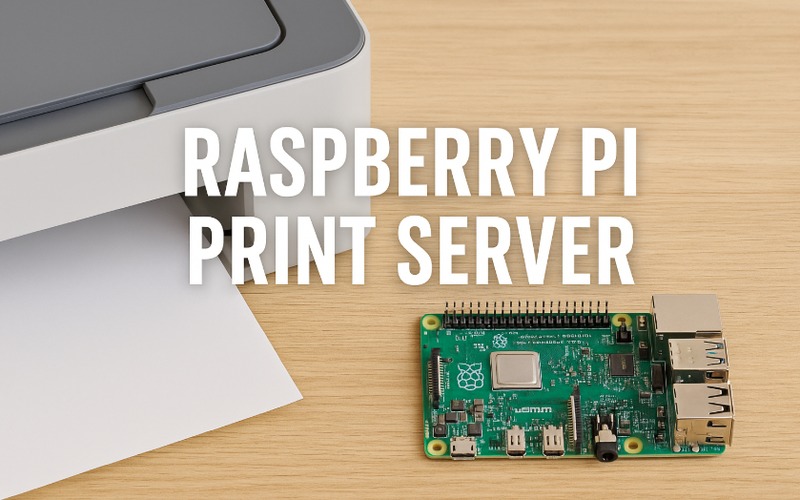
This guide shows how to use a Raspberry Pi as a wireless USB bridge for printers or devices that only have a USB port. It uses the VirtualHere USB Server to share any USB device over your Wi-Fi or LAN — great for printers with drivers like the LS1300/K13 Lite that need a direct USB connection.
Use the Raspberry Pi Imager to write Raspberry Pi OS to your SD card. Download it here: Raspberry Pi Imager (official).
Download PuTTY here: PuTTY (official). Open a terminal or PuTTY and connect:
ssh pi@vhserver.local(If that fails, use your Pi's IP, e.g. ssh pi@192.168.0.198.)
To find your Pi's IP address on the network, use a network scanner like Advanced IP Scanner. Scan your LAN and look for the hostname you set (vhserver) or the Raspberry Pi manufacturer entry.
Then update the system:
sudo apt update && sudo apt upgrade -yRun these commands:
sudo apt install curl -y
sudo curl -o /usr/local/bin/vhusbdarm \
 https://www.virtualhere.com/sites/default/files/usbserver/vhusbdarm
sudo chmod +x /usr/local/bin/vhusbdarm
Create a service so it runs automatically:
sudo bash -c 'cat >/etc/systemd/system/vhusbd.service <<EOF
[Unit]
Description=VirtualHere USB Server
After=network-online.target

[Service]
ExecStart=/usr/local/bin/vhusbdarm -b
Restart=on-failure

[Install]
WantedBy=multi-user.target
EOF'
sudo systemctl daemon-reload
sudo systemctl enable --now vhusbd
Confirm it's running:
sudo systemctl status vhusbdYou should see active (running).
Connect the printer's USB cable to the Pi and check detection:
lsusbYou should see something like:
Bus 001 Device 004: ID 1a86:7523 QinHeng Electronics HL-340 USB-Serial adapterThat means your LS1300/K13 Lite printer is detected.
Download from: VirtualHere USB Client. Run the program — it should auto-detect your Pi (vhserver) on the left side. Right-click your printer → Use this device. Windows now loads the printer driver as if it were plugged in locally.
Right-click your printer again → Auto-Use Device. This makes it auto-connect every time you start Windows. To run it silently:
shell:startup), orsudo systemctl status vhusbd.You now have a fully wireless USB hub. Your PC thinks the printer is connected by USB, but it's actually going through your Pi. Open the VirtualHere Client when you need to print if you didn't set it to autostart.
Written by Coolshrimp — coolshrimpmodz.com
Reuse the Xfinity/Comcast Sercomm iCamera2 as a standalone IP camera — power, setup, configuration and troubleshooting.
Give the HP TouchPad a second life: replace webOS with Android (CyanogenMod) using TP Toolbox, step by step.
Open LG's hidden service menu with a DIY IR transmitter and unlock features normally reserved for higher-end models.
Fix slow or dropping cable internet by checking your modem's signal levels — what the numbers should be and how splitters affect them.

Sign up and get notification about new services, promotions and sales.
