Blind Line & College Ave
Orangeville, Ontario

First-use setup, material tests and ramp tests to dial in your CO2 laser for clean cutting and engraving — plus essential safety tips.
Welcome to the beginner's guide to using your CO2 laser!
Whether you're a hobbyist, artist, or small business owner, this guide will help you get started. You'll learn how to set up your laser for first use, run material tests to find optimal settings, and perform a ramp test for precise cutting and engraving.
Always follow safety precautions when operating your laser, and consult the manufacturer's manual for specific instructions. Never leave a running laser unattended, always run your air assist and exhaust, and keep a fire extinguisher within reach — CO2 lasers can ignite material in seconds.
Aligning your CO2 laser mirrors ensures the beam travels correctly and delivers optimal cutting and engraving performance.
Steps to calibrate your mirrors:
Fire at low power (10–15%) during alignment so you mark the tape without burning through it. A tiny burn dot is enough — you don't need to blast it. Always align from the tube outward (mirror 1, then 2, then 3) so each adjustment builds on the last.
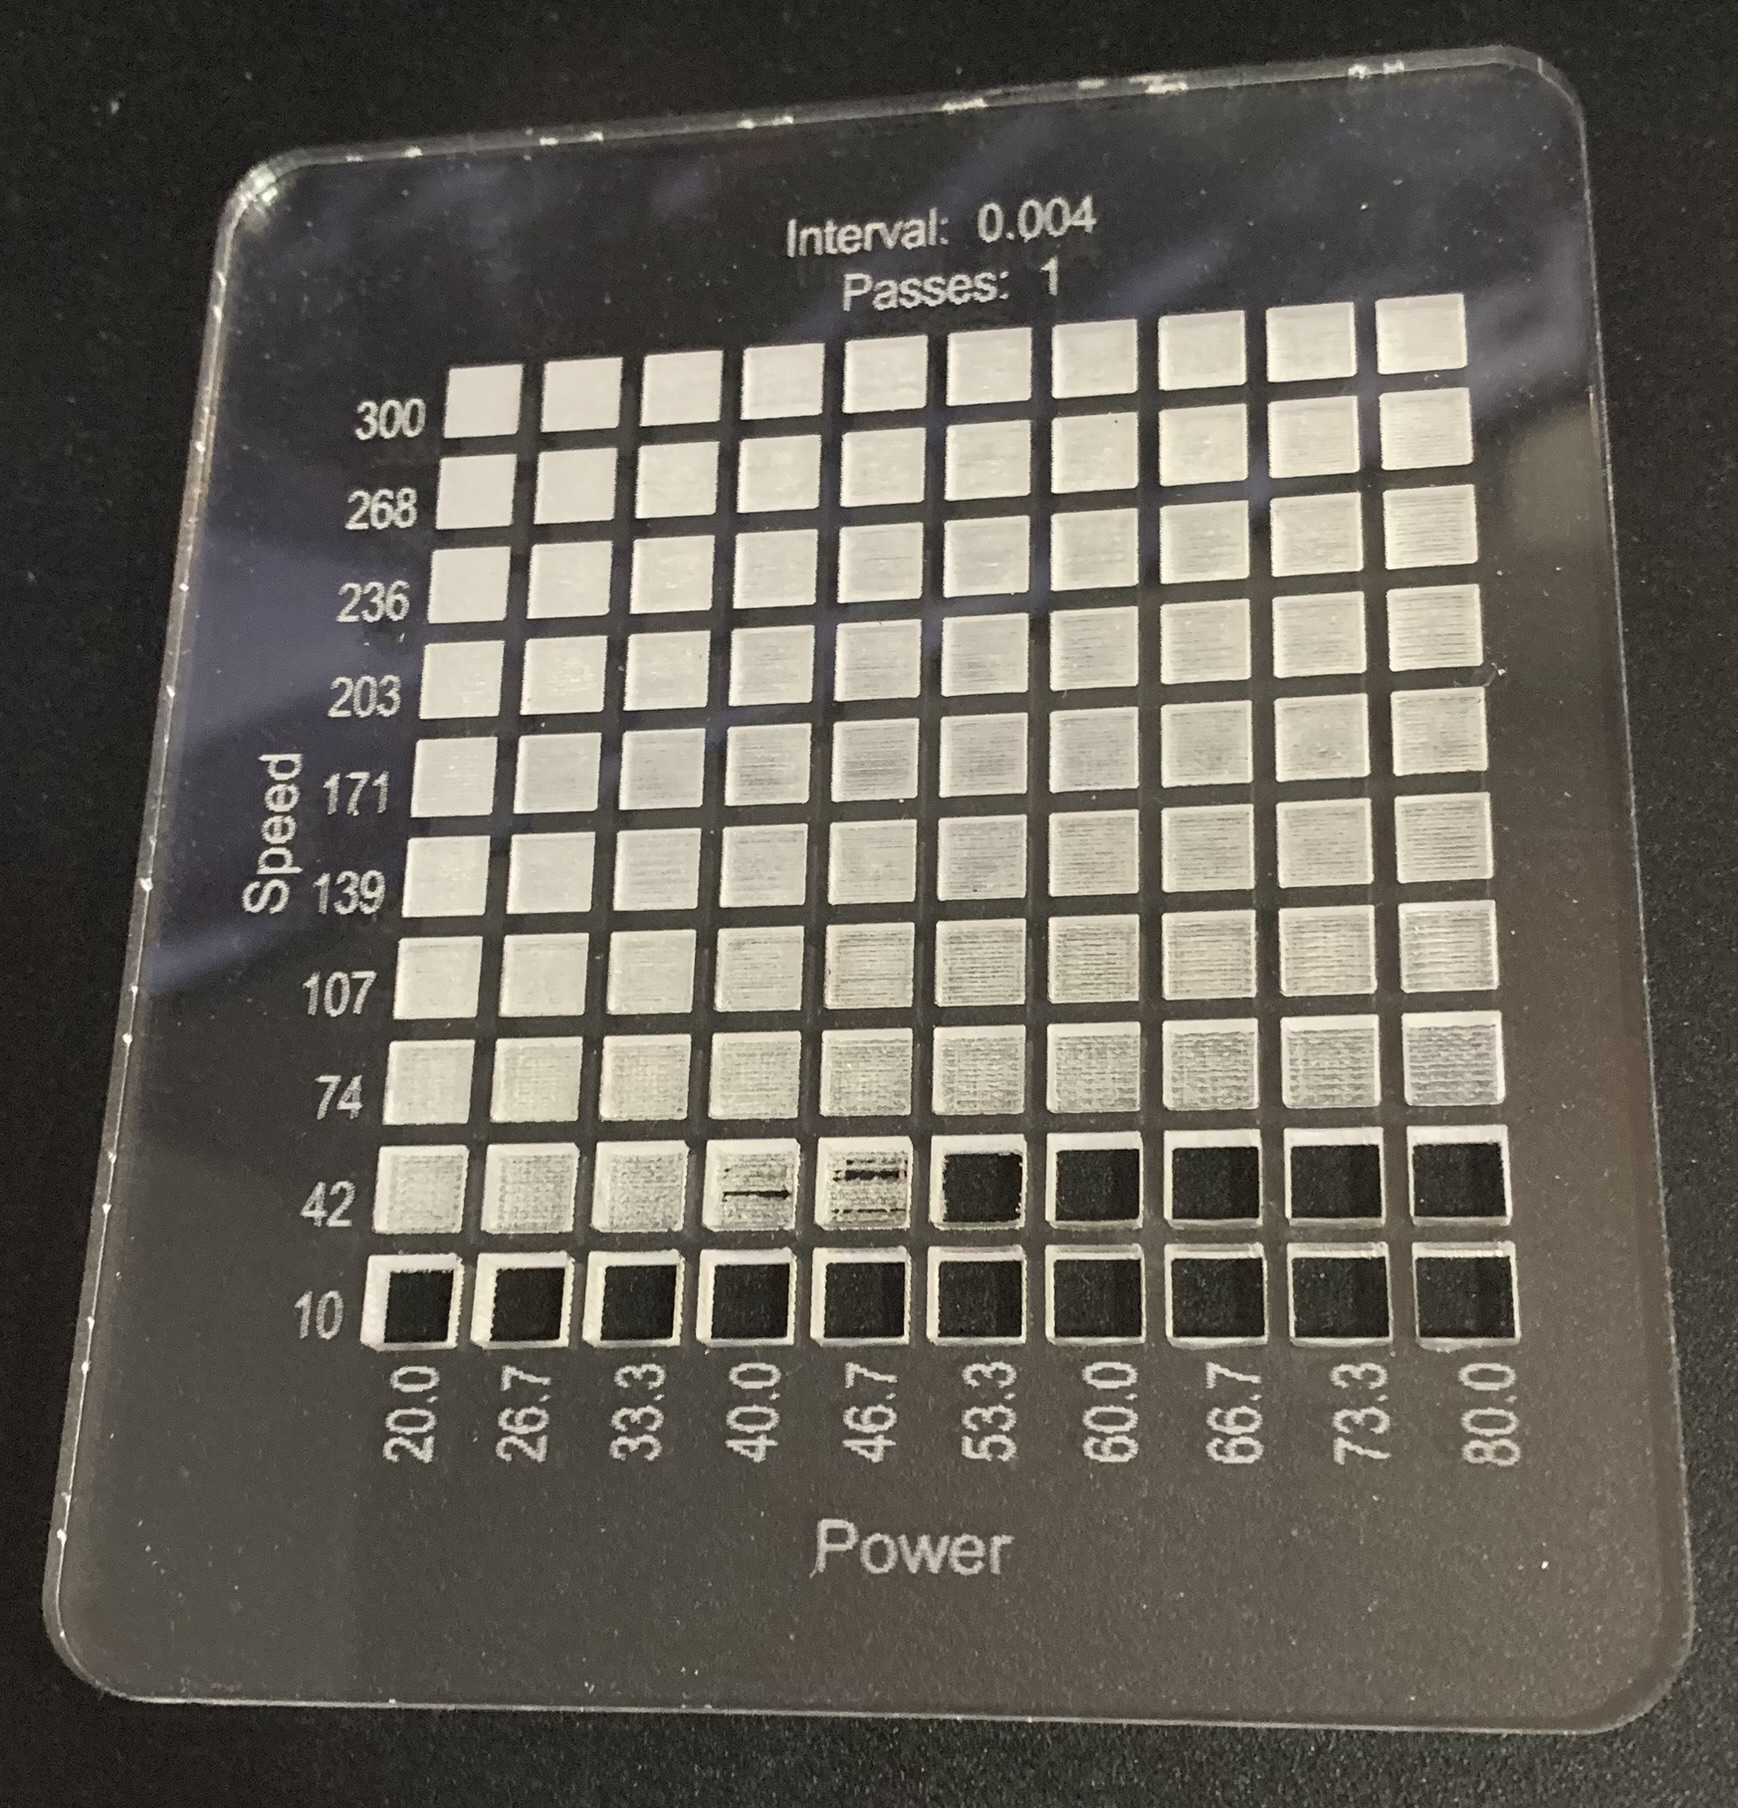
Running a material test is essential for consistent results. By testing speed and power on each material you use, you can determine the optimal settings and reproduce them every time.
Some lasers won't fire under 15% power — change the minimum value in the test accordingly.
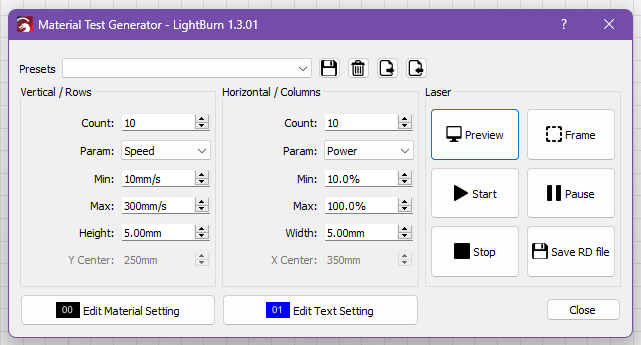
Once the test finishes you'll have a reference swatch to use as a guide in the future.
For precise, consistent results you need to find the focal distance — the distance between the laser lens and the surface of the material. It has a big impact on engraving and cutting quality. A ramp test engraves a line across an angled piece of material so you can see exactly where the beam is sharpest.
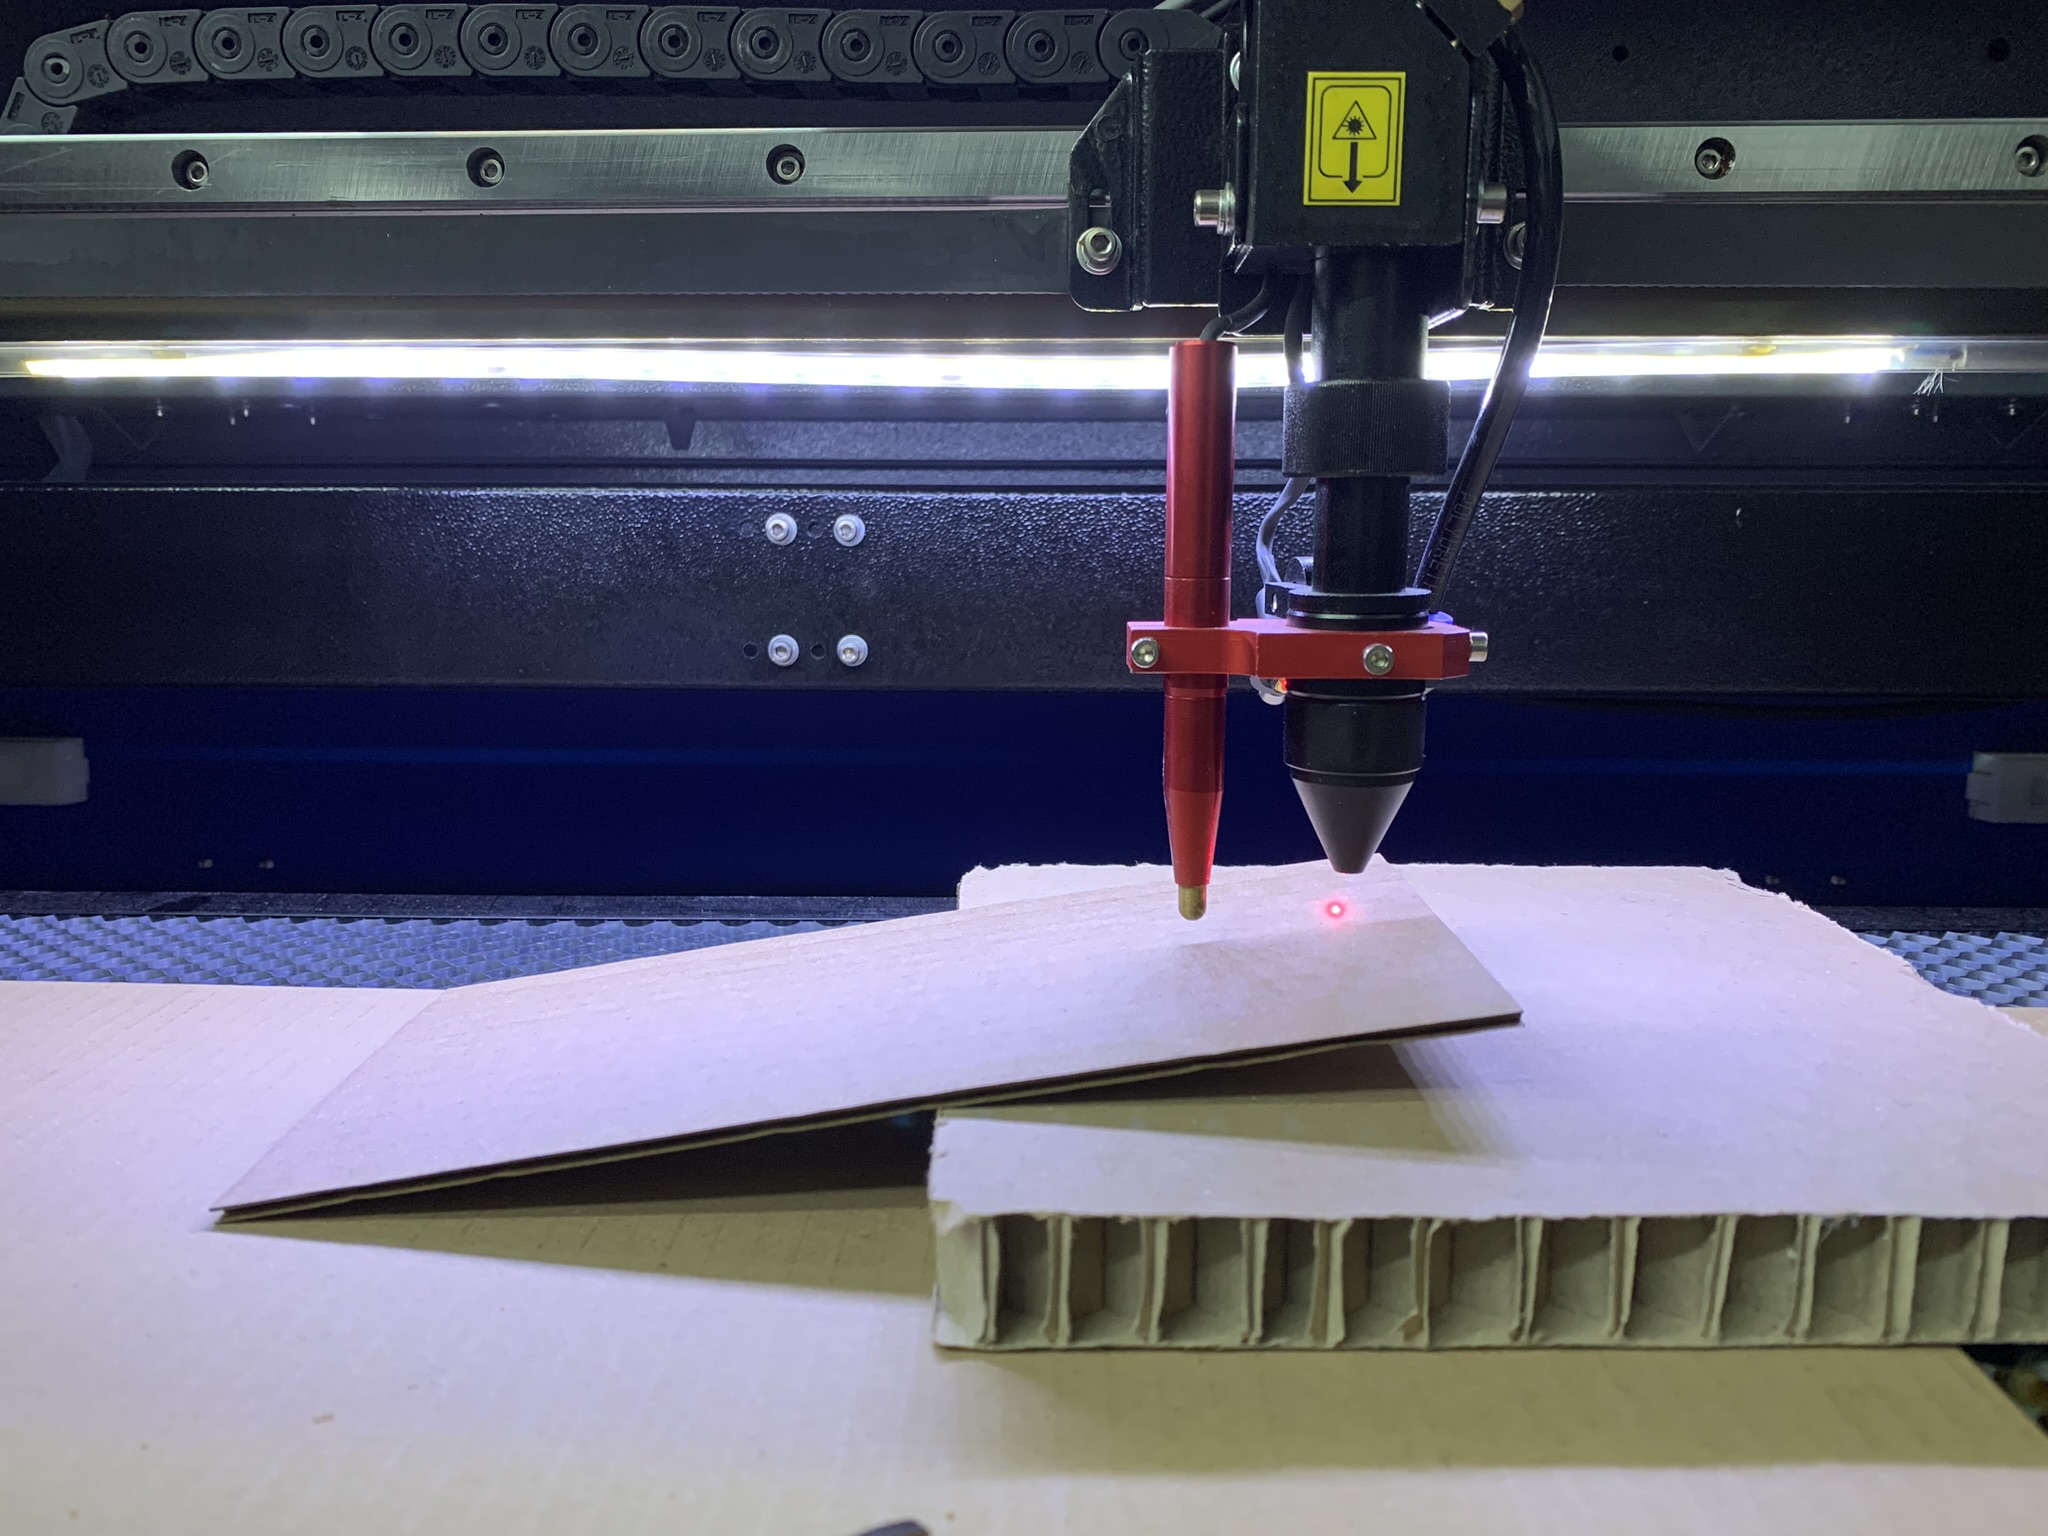
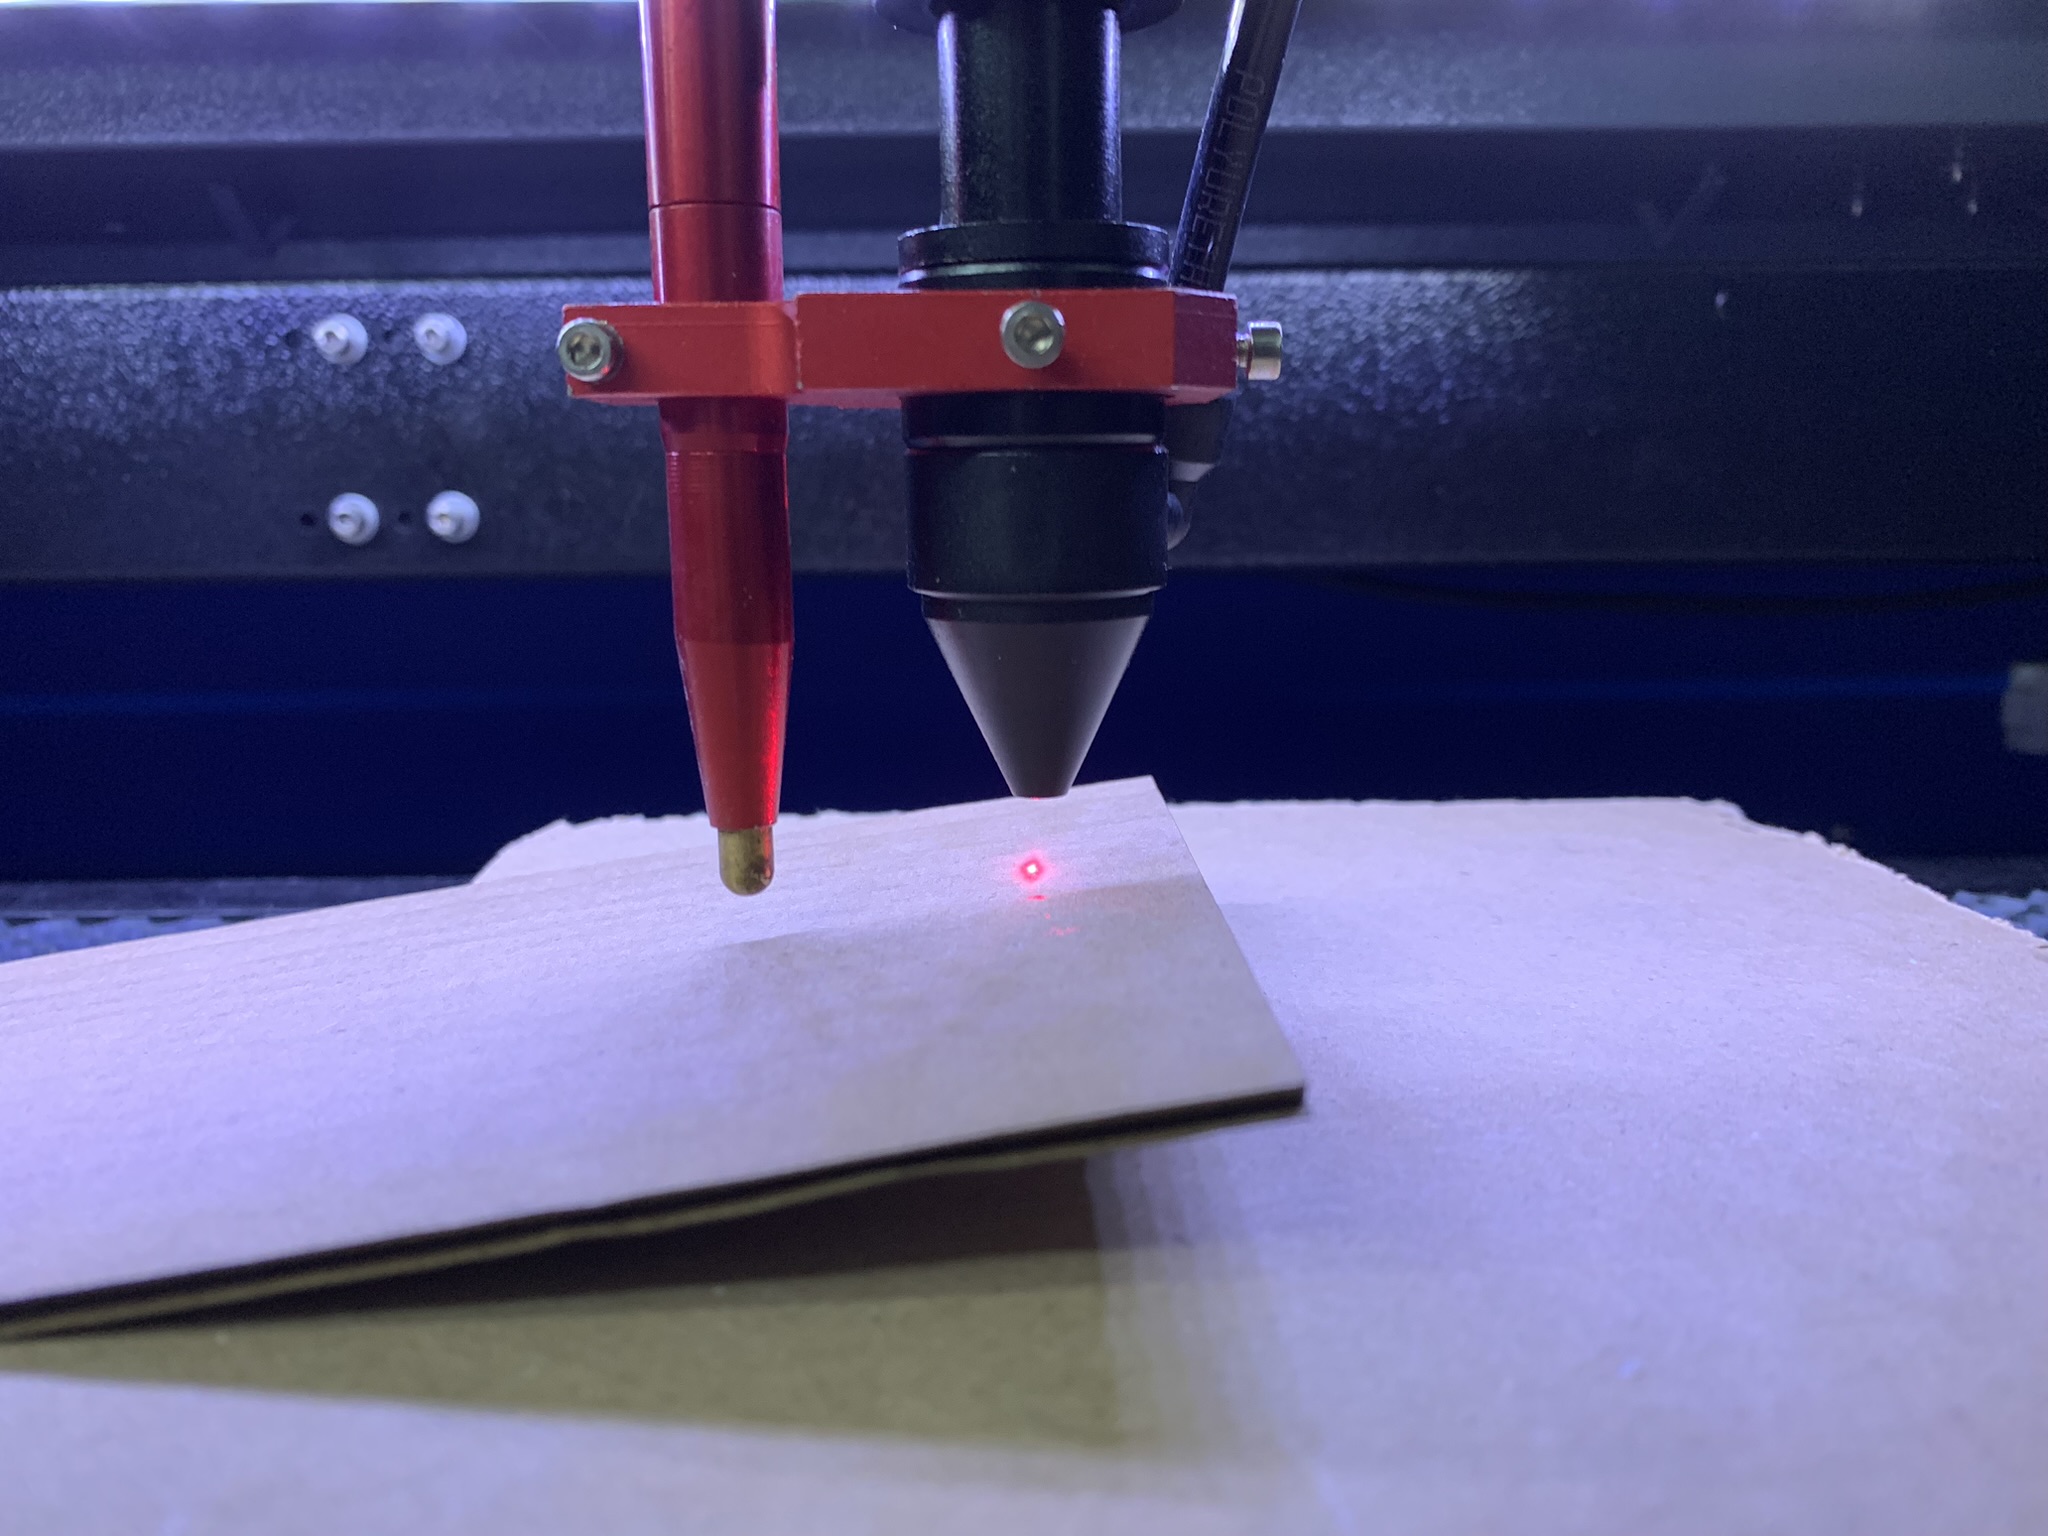
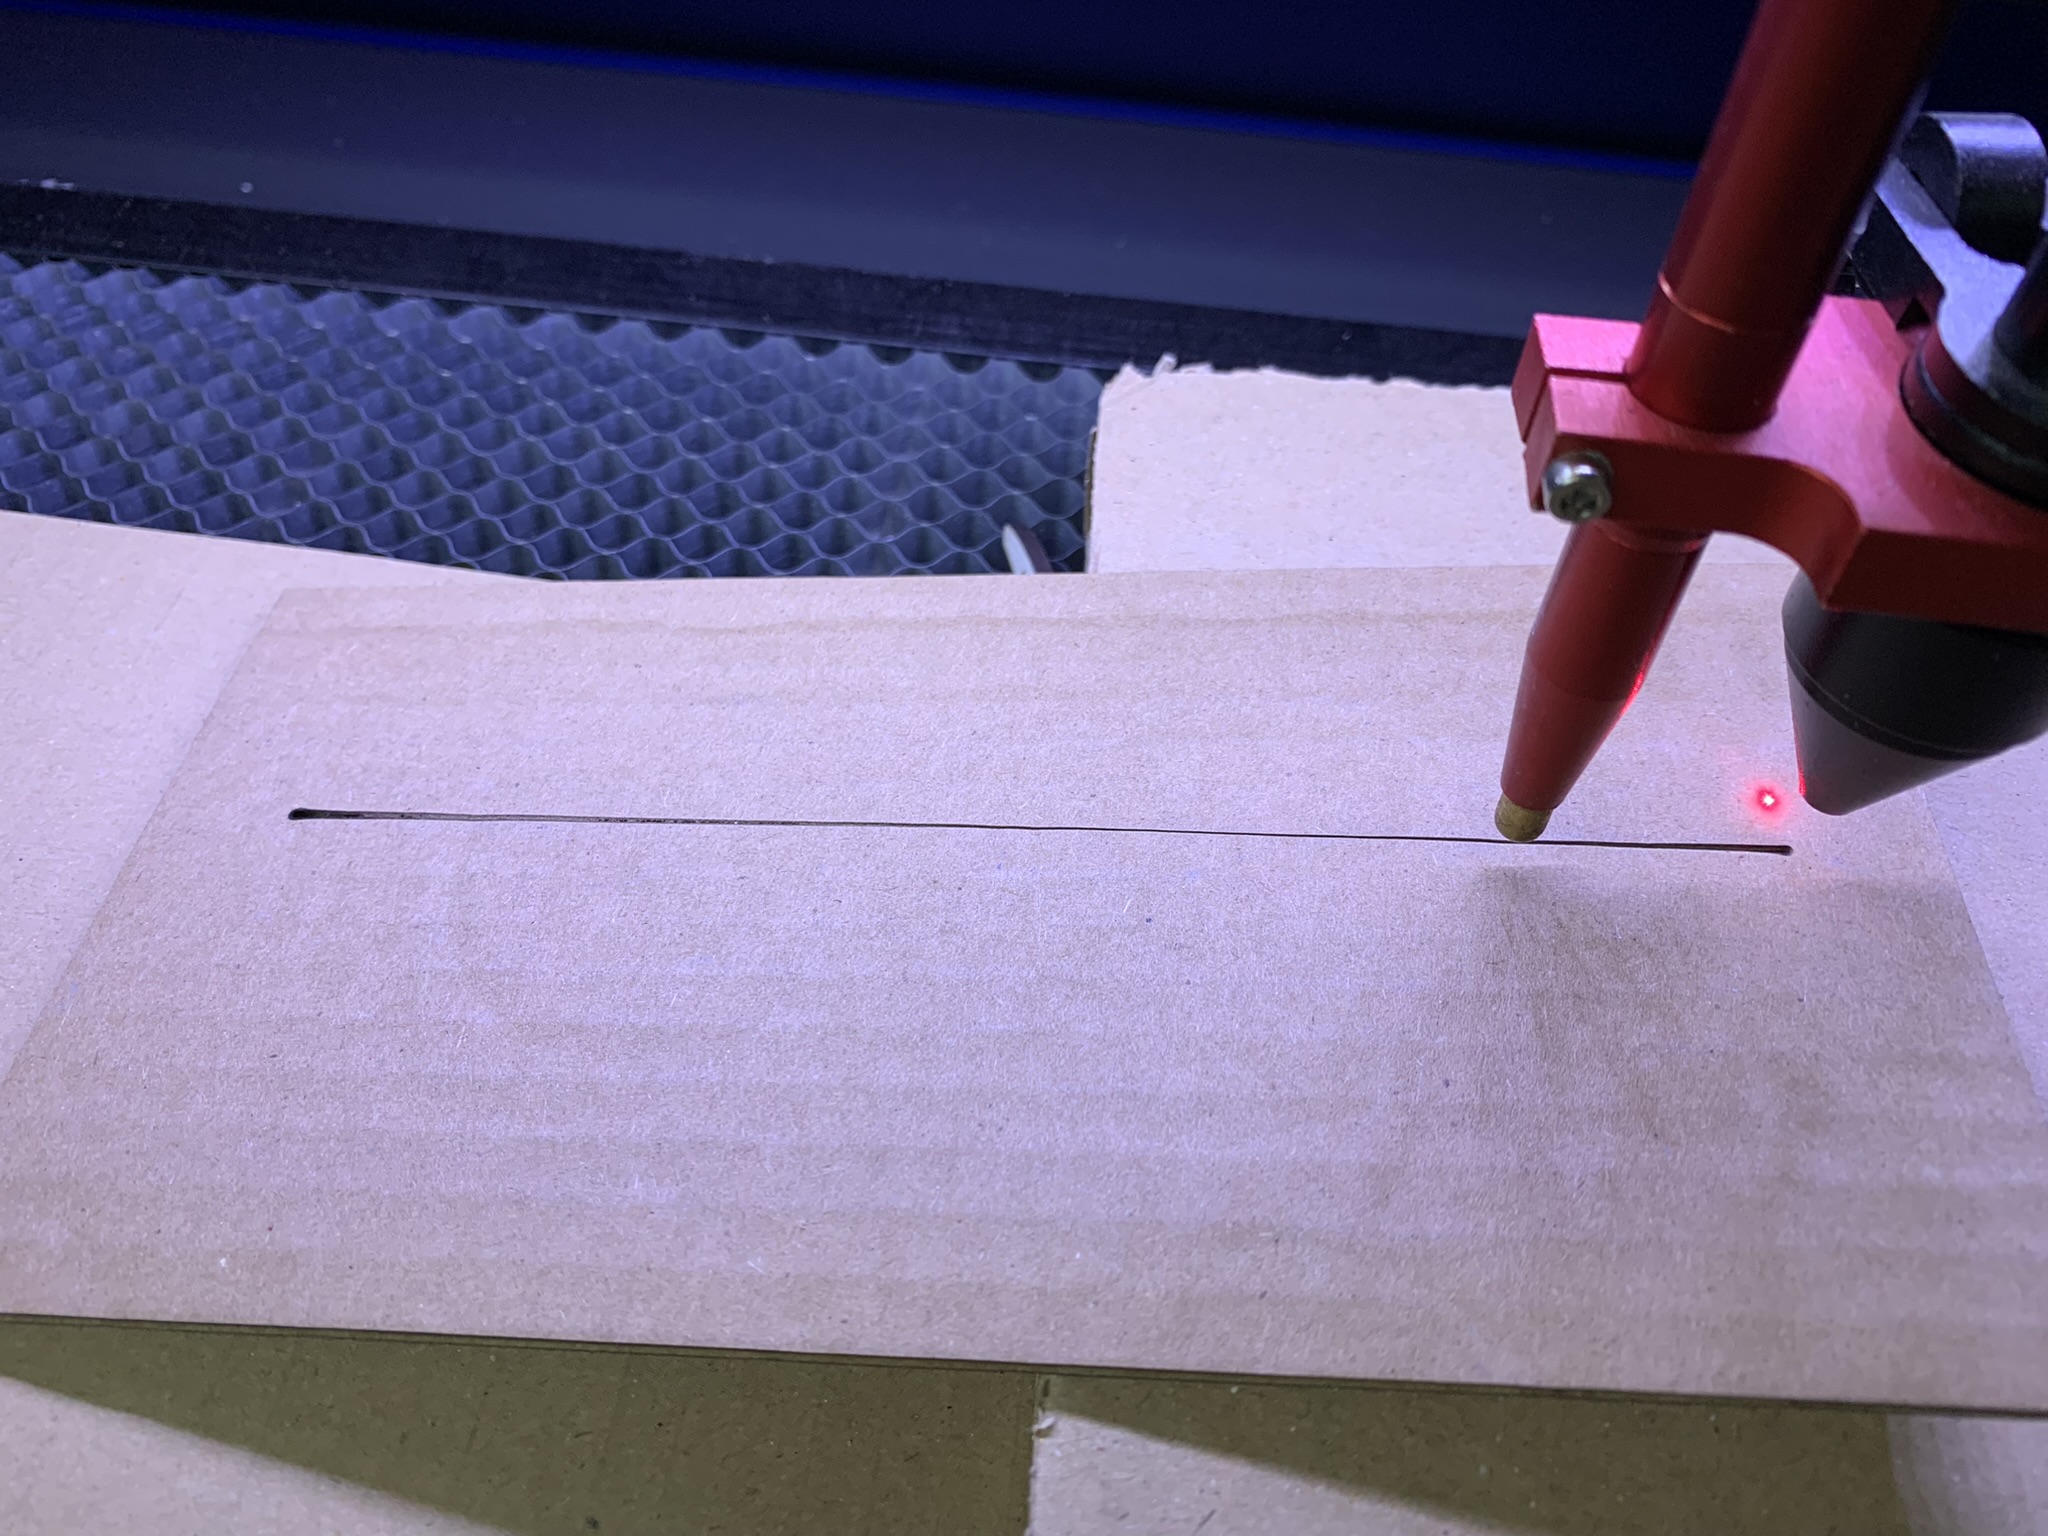
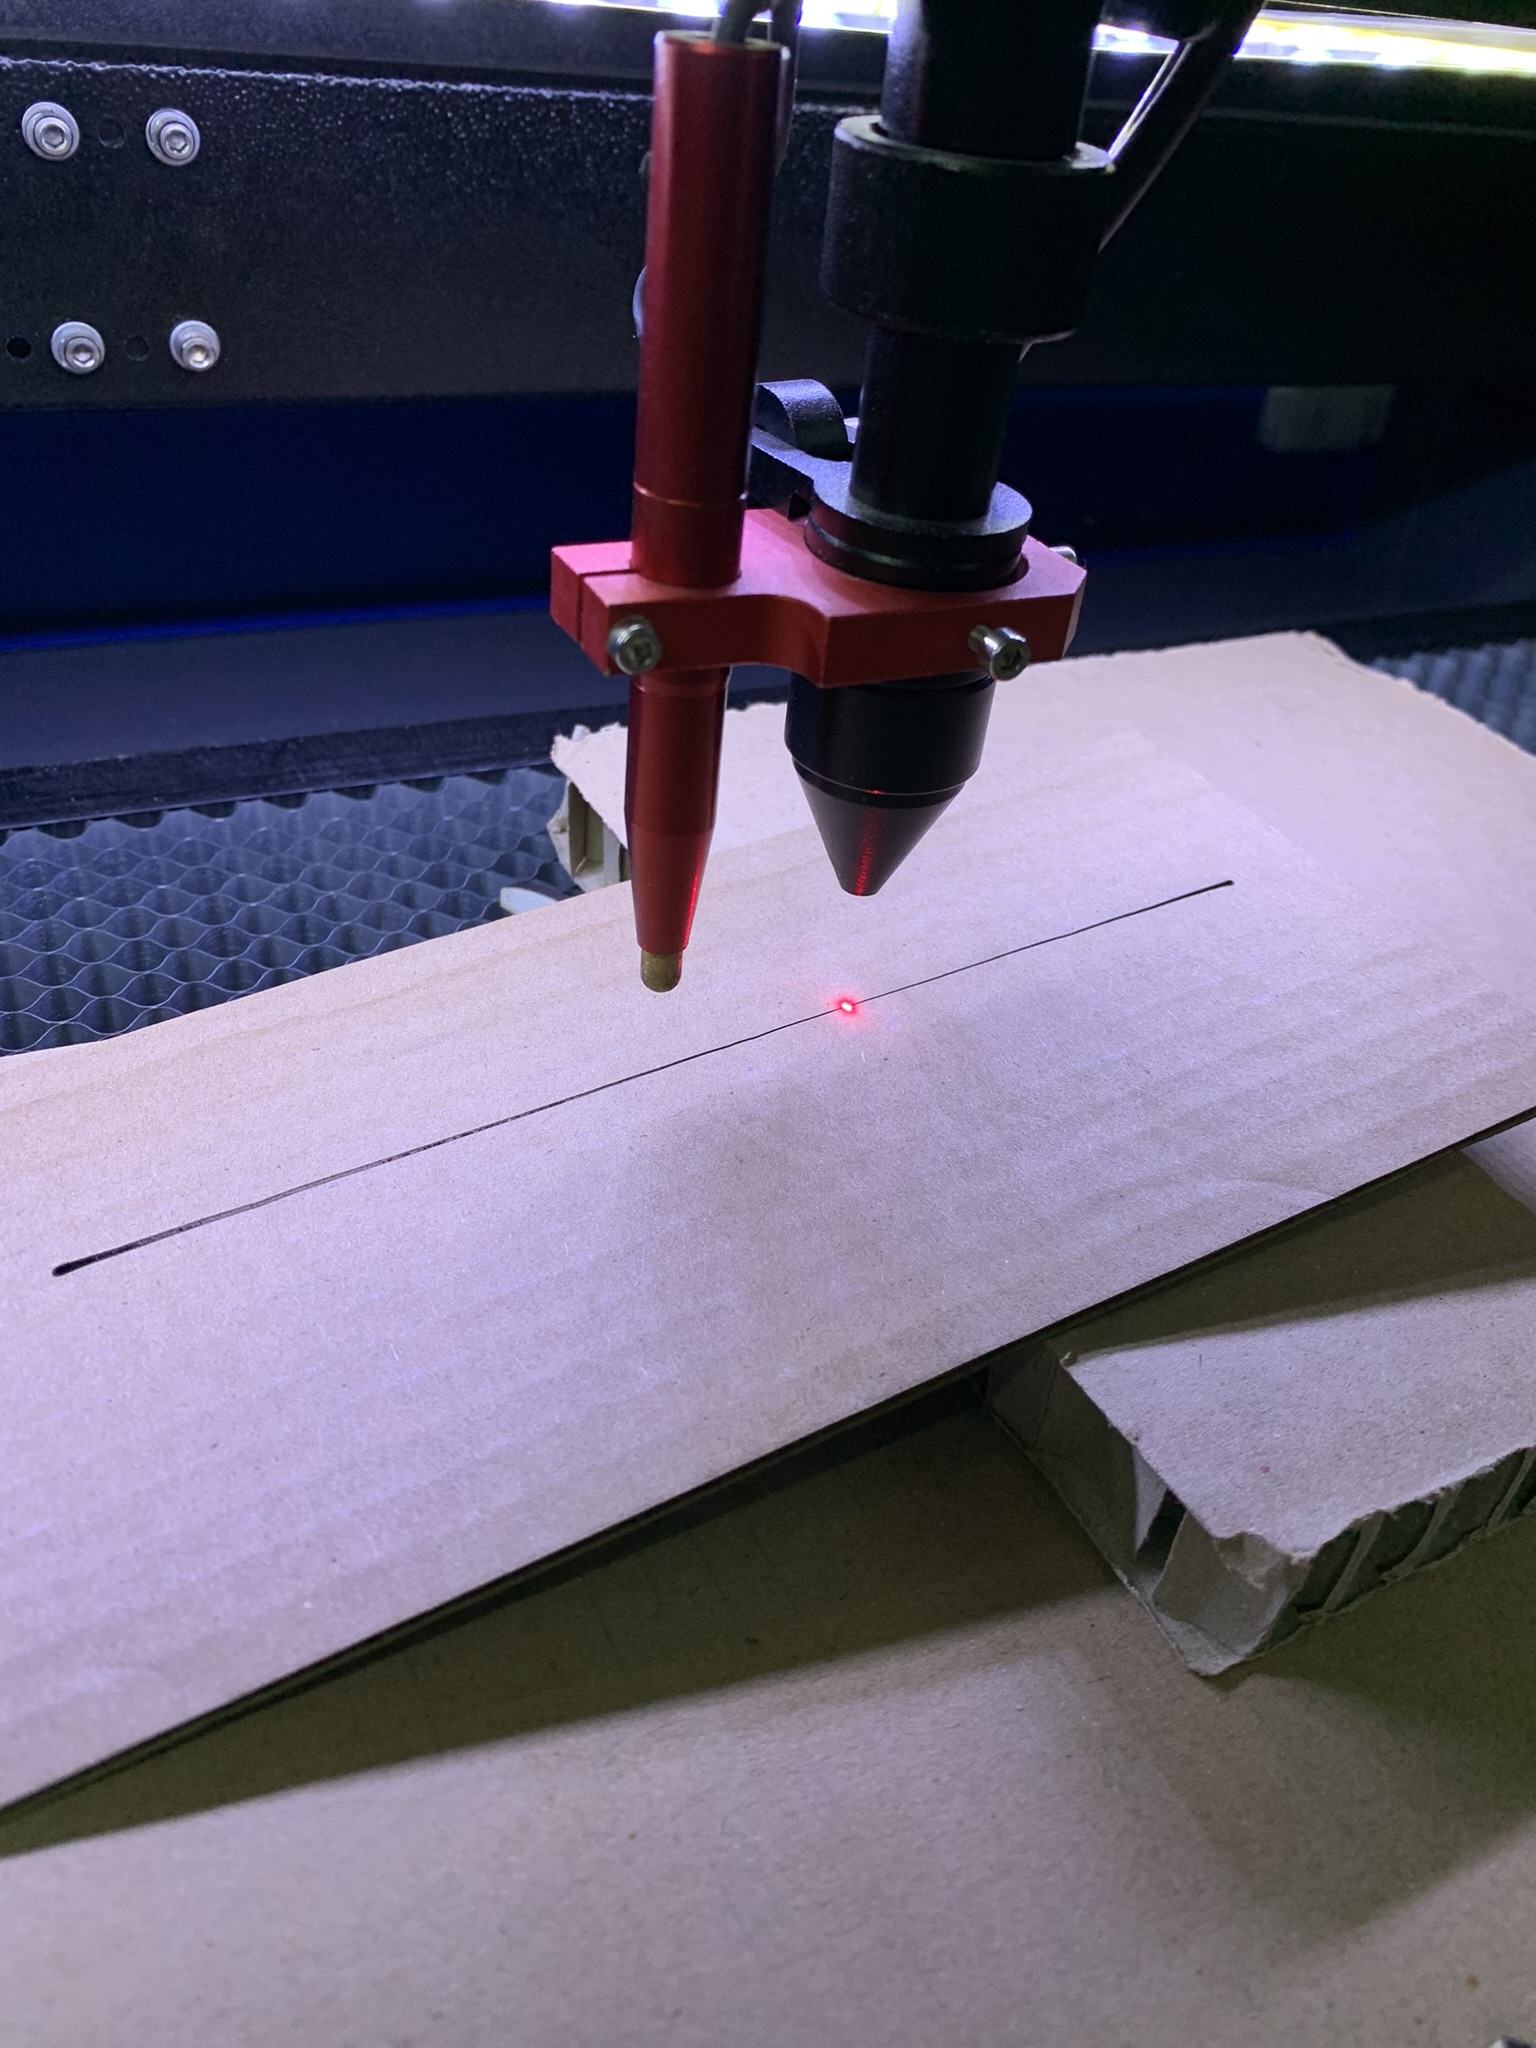
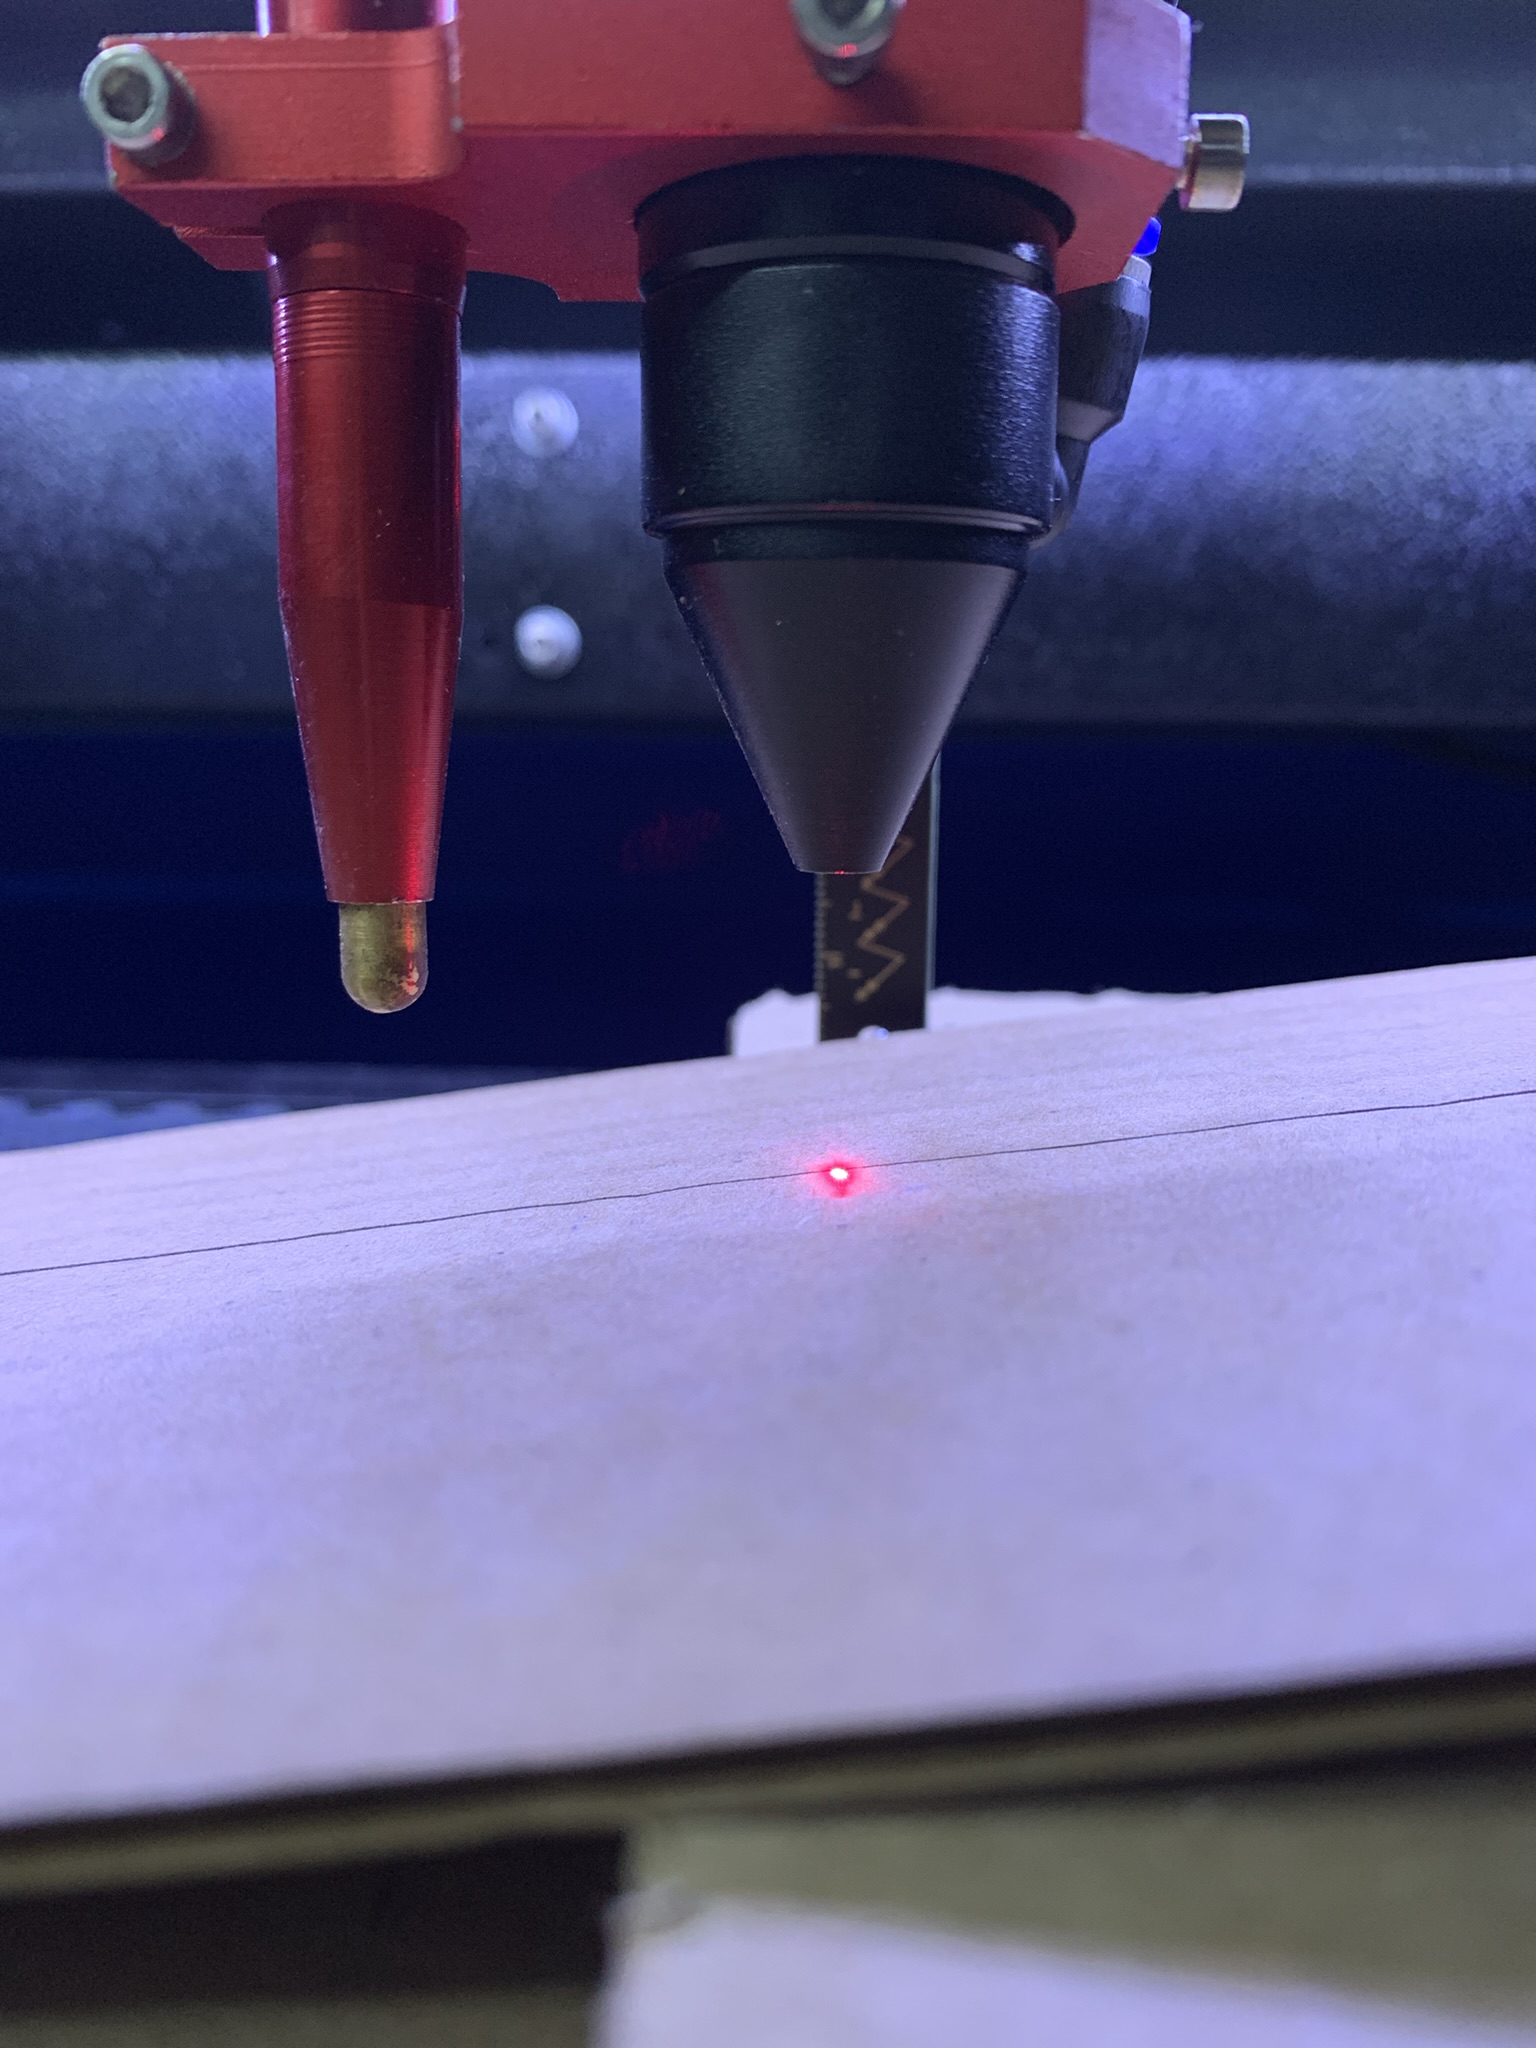
Ensure the material is positioned at the optimal focal distance before every cut or engraving. Failing to do so results in blurred engravings and difficulty cutting through even thin materials. Many people cut a small focus spacer block to the exact focal distance so they can set it by hand every time.
By taking the time to properly align your mirrors and focus your material, you'll achieve the best possible results and avoid wasting time, money, and materials on failed attempts.
You've now learned the basics of using your CO2 laser. Remember — practice makes perfect, so don't be afraid to experiment with different materials and settings. Good luck and happy laser cutting!
LightBurn (laser control software): lightburnsoftware.com
Track down what's slowing your PC — Task Manager, startup programs, disk health, malware checks and more, step by step.
Convert your disk from MBR to GPT with Microsoft's built-in mbr2gpt tool — no reinstall, no data loss — and switch to UEFI boot.
Everything you need to build and configure your RetroPie emulation setup. Also suitable for Pi 1/2/4/Zero.
The full Wii softmod, start to finish: Wilbrand exploit → Homebrew Channel → BootMii NAND backup → Priiloader → cIOS → USB game loading.

Sign up and get notification about new services, promotions and sales.
